Malasana is a deep squat pose that has been part of yoga and the daily life of many cultures for centuries. Its name comes from Sanskrit: “mala” means garland, and in this asana, the body folds over itself like a woven ornament.
It is a fundamental pose that improves hip flexibility, strengthens ankles, and acts as a natural counterbalance to our sedentary lifestyle.
Although we overlook it in the West, in India and many Eastern cultures, the deep squat is as natural a position as sitting in a chair. Young children hold it effortlessly. With regular practice, anyone can regain that lost ability.
Meaning and etymology: the sacred garland
The term “mala” in Sanskrit not only means garland but also evokes the idea of something cyclical and complete. In this posture, the body wraps around itself organically, creating a closed and compact form.
Some teachers call it the “squat of real life” because it was the natural resting position in India before Western chairs became popular.
Practicing Malasana is reconnecting with an ancestral bodily truth. In ancient yogic scriptures, it is noted for its ability to balance energy and prepare the body for meditation.
By holding this posture, we activate energy points in the hips, the base of the spine, and the pelvic floor that are fundamental in classical yoga.
How to do Malasana: step-by-step instructions
Follow these steps to enter the pose correctly:
1. Starting position: Standing, with your feet shoulder-width apart or slightly wider. The toes point forward or slightly turned out (according to your natural hip openness).
2. Bend the knees: Begin to lower your body weight by bringing your hips down towards the ground. Keep your back elongated; do not slump.
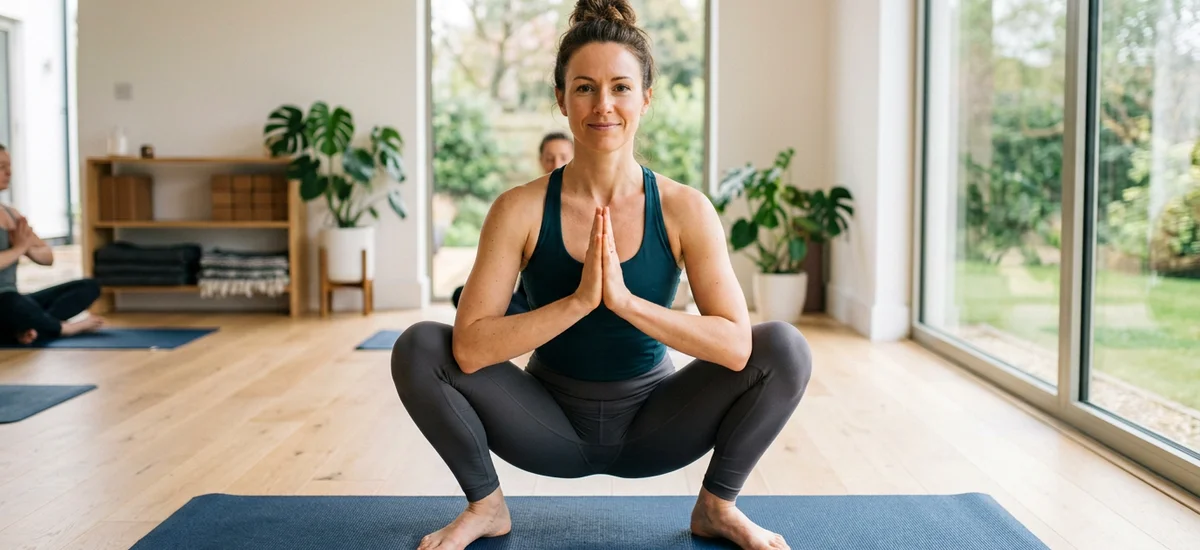
3. Deepen the squat: Descend until your hips are as close to the ground as possible. The goal is for your glutes to almost touch your heels (or touch them completely, depending on your flexibility).
4. Arm position: Bring the elbows inward, resting them against the inside of the knees. Join the palms together in Anjali mudra (prayer position) at chest height. The elbows gently press against the knees, helping to open them.
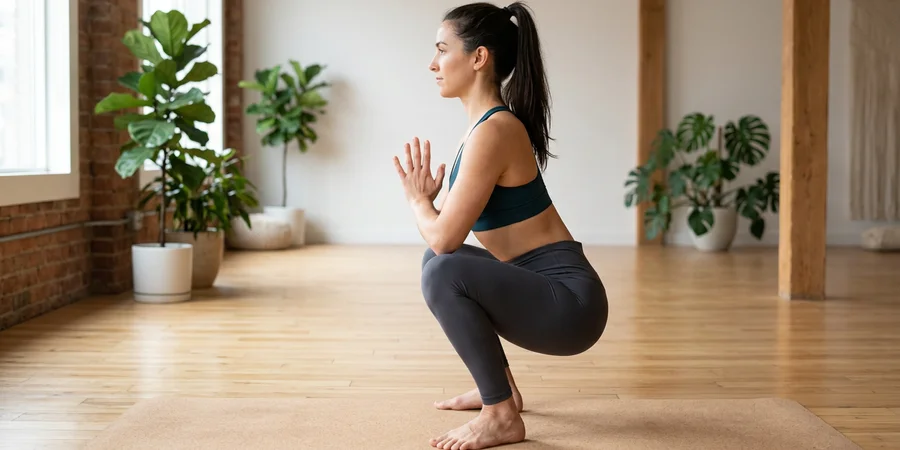
5. Spine alignment: Keep the back straight and elongated. The crown of the head points forward. The shoulders relax back and down.
6. Breathing: Breathe deeply in the posture. Each exhalation allows you to sink one more centimeter into the ground. Hold Malasana for 30 seconds to 2 minutes.
Common mistakes and how to avoid them
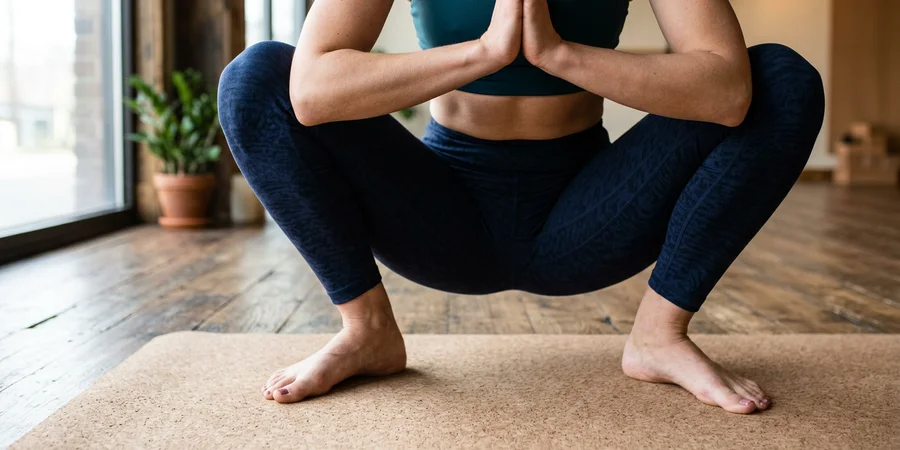
Heels lifted off the ground: This is the most common mistake. Lack of flexibility in the ankles and calves prevents the heels from touching the ground. Use a rolled blanket under your heels to create more space. With regular practice, you will manage to fully support them.
Knees collapsing inward: When hip opening is limited, the knees tend to come closer together. Press your elbows against the inside of your knees to keep them open and aligned over the ankles.
Rounded back: Sinking the chest and rounding the spine compresses the internal organs. Lengthen the spine from the base of the skull. If your back continues to round, do not go as deep; a shallower squat that is correctly aligned is better.
Weight on the toes: Weight should be distributed evenly across the entire sole of the foot. If you feel like you’re falling forward, adjust the weight position towards the heels.
Benefits of Malasana: beyond flexibility
Malasana is a gem of yoga for its multiple benefits to body and mind.
Deep hip opening: The squat opens the groin area, the adductors, and the external hip rotators. This is especially valuable for people who spend many hours sitting, where the hips are constantly contracted.
Strengthening of ankles and feet: Keeping the weight on the feet gradually strengthens the stabilizing muscles of the ankle. This improves balance and reduces the risk of sprains in daily life.
Digestive stimulation: Gentle pressure on the abdomen activates the digestive organs. The posture massages the large intestine, stomach, and liver, improving digestion and intestinal transit.
Pelvic floor toning: This area receives natural activation in Malasana. A strengthened pelvic floor improves lumbar stability, sphincter control, and sexual vitality.
Reduction of lumbar pain: Paradoxically, this posture helps. The opening of the hips releases tension at the base of the back, and the correct spinal alignment prevents or alleviates lumbar pain associated with being sedentary.
![]()
Contraindications and How to Adapt the Pose
Although Malasana is safe for most, some people require adaptations.
Knee Injuries: If you have a history of meniscal or ligament injuries, practice a shallower squat. Never force depth when there is joint pain. Use a block under the glutes to reduce knee flexion.
Ankle Issues: If the ankles do not have enough dorsiflexion (you can’t bend the sole of the foot towards the shin), place a thick blanket or a cushion under the heels. This reduces the demand on the ankle while you practice.
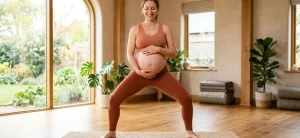
Advanced Pregnancy: Malasana is excellent during pregnancy because it opens the pelvis, but in the third trimester, reduce the depth. Spread the feet wider to make space for the belly.
Pelvic Floor Pain: If you experience discomfort in the perineal area, do not push too deep. Stay in a neutral position and breathe deeply. Consult a specialized physiotherapist if the pain persists.
Recommended Duration and Frequency
If you are a beginner, hold Malasana for 15 to 30 seconds. With practice, your body will adapt, and you will be able to hold it comfortably for 1-2 minutes.
More advanced practitioners can hold it for up to 5 minutes, using that time as a moving meditation. Deep breathing in this posture amplifies all its benefits.
Practice Malasana at least 3-4 times a week to notice real changes in hip opening. Many teachers include it at the beginning of each class as preparation for the rest of the sequence.
Variations to deepen your practice
Once you master basic Malasana, try these variations:
Malasana with a twist: From the full pose, place your right hand on the outside of your left knee and inhale, lengthening the spine. As you exhale, rotate your torso to the left.
The twist massages the internal organs and aids in detoxification. Switch sides after five complete breaths.
Malasana with extended arms: Instead of Anjali mudra, extend your arms forward, parallel to the ground, with palms facing down. This variation strengthens the arms and back while opening the hips.
Dynamic Malasana: Instead of holding static, move gently. Inhale as you lift your torso slightly, exhale as you lower down. This fluid movement is excellent as a warm-up before a sequence of standing poses.
Recovering the deep squat in modern life
We live in an era of chairs. Our bodies have forgotten a position that our ancestors naturally maintained. Small children squat without thinking, but over time this ability is lost if we do not practice it.
The good news is that it is totally recoverable. Practicing Malasana regularly —even 2-3 times a week— gradually returns that lost flexibility.
Some yogis recommend holding the pose while working on the computer, using a cushion under the glutes, or while waiting for water to boil in the kitchen. These are perfect moments to reconnect with your body.
In the context of a yoga class, Malasana works both at the beginning as a hip warm-up and at the end before seated postures. Combine it with restorative practices for a more complete session.
Restoring this posture is more than an asana: it is reconnecting with the natural intelligence of your body. It is remembering that fluid movement and deep opening are parts of the original human design.
In the philosophy of yoga, Malasana represents humility and acceptance: the act of bowing towards the earth as a gesture of reverence. Few yoga postures condense so much wisdom into such a simple gesture.
If you are starting in yoga or looking to deepen your practice, Malasana deserves time and patience. You will discover that, with dedication, your body regains abilities you thought were lost.