Would you like to start practicing yoga but have no idea where to begin? Don’t worry, you’re in the right place. Here you will find everything you need to take your first steps with confidence and motivation.
From basic tips to ideal poses for beginners, this guide will help you create a practice that suits you. Whether at home or in a studio, you can start a path full of well-being and balance.
What is yoga?
Yoga is an integral practice that combines movement, breathing, and meditation. Originating in India thousands of years ago, it seeks to harmonize body, mind, and spirit, promoting physical, mental, and emotional well-being.
It’s not just a physical exercise, but also a lifestyle. Through techniques such as asanas (postures), pranayama (breath control) and meditation, yoga helps you connect with yourself and the present.
What do we mean by yoga beginners?
When we talk about yoga beginners, we mean those who are taking their first steps in this practice. It can be someone who has never tried yoga or who has very limited experience.
Beginners are usually at the stage of becoming familiar with the basic postures, learning to coordinate breathing with movement and understanding the fundamental principles of yoga, without worrying about perfection.
The best type of yoga for beginners
There is no single answer, as the “best” yoga depends on your needs, goals, and physical condition. However, styles such as Hatha Yoga, Vinyasa Yoga, Yin Yoga or Restorative Yoga are usually recommended for those who are starting out, as they allow a gradual and accessible approach.
If you want to know in detail each type of yoga and which may be the most suitable for you, I invite you to read our article about the different types of yoga.
Tips for starting yoga
Starting yoga can seem overwhelming, but the most important thing is to allow yourself to learn at your own pace. Start by defining your intention: do you want to relax, strengthen your body, or just try something new? Being clear about your purpose will help you stay focused and motivated.
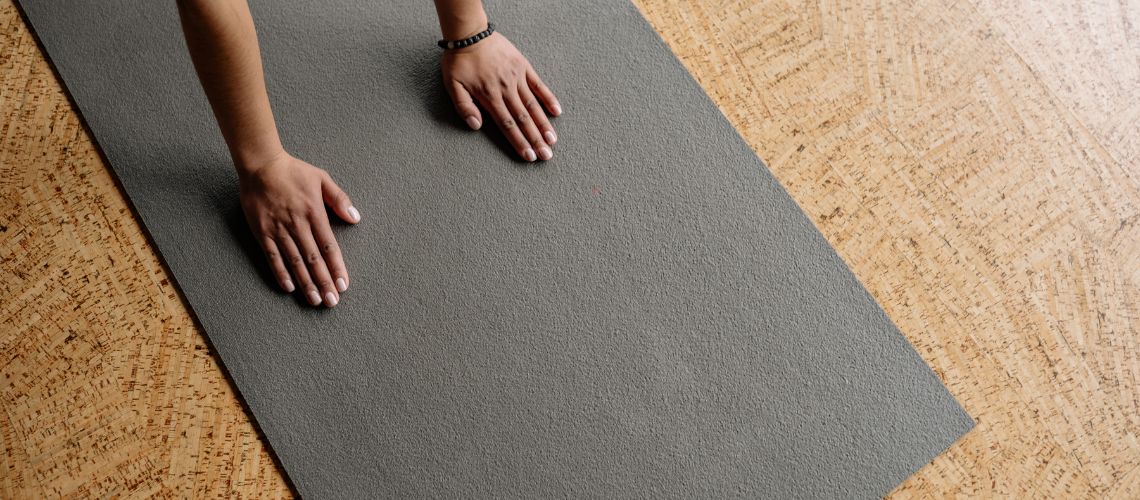
You don’t need much equipment to get started. With a good non-slip mat, comfortable clothing and, if you wish, accessories such as blocks or straps, you’ll be ready for your first practice. In addition, it is useful to familiarize yourself with the basic postures, such as the child’s pose or the mountain pose, as these will be the basis for more advanced movements.
Remember that yoga is not about achieving a perfect pose, but about listening to your body. If something hurts or doesn’t feel right, adjust the pose or rest. Breathing is key: synchronize your movements with deep breaths to better connect with your practice and calm your mind.
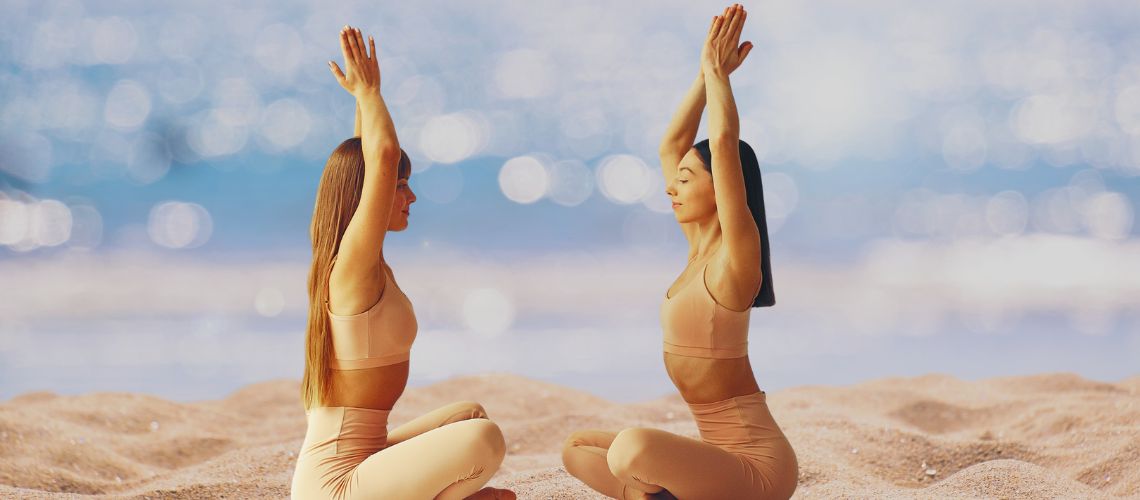
If you find it more comfortable, start with guided classes, either in person or online. A good instructor can help you avoid mistakes and will offer adaptations according to your level. Also, don’t worry about practicing for hours; sessions of 15 or 20 minutes are an excellent starting point. The important thing is to be consistent.
Finally, remember that yoga is a personal journey. Don’t compare yourself to others, each body has its own rhythm and possibilities. Create a quiet space at home, be patient with yourself and enjoy the process. Each small step forward is an achievement on your path to well-being.
Yoga routine for beginners
If you want to start your yoga practice in a simple and guided way, we have prepared a video with an ideal routine for beginners. It is perfect for familiarizing yourself with the basic postures and connecting with your breathing.
Dedicate a few minutes of your day to following this sequence. You will feel more relaxed, energized, and ready to incorporate yoga into your daily life. Click on the video and start your first routine!
Frequently asked questions from yoga beginners
When someone starts yoga, it’s natural for questions to arise. Here are some of the most common questions and their answers to help you feel more confident when starting your practice.
Do I need to be flexible to practice yoga?
No, flexibility is not a requirement to start. In fact, many people become more flexible thanks to yoga. The important thing is to adapt the postures to your level and listen to your body.
What type of yoga is best for beginners?
Modalities like Hatha Yoga, Restorative Yoga, or gentle Vinyasa Yoga are ideal for beginners. These classes usually focus on basic movements and have an accessible pace for those who are starting.
How long should I practice?
You don’t need to dedicate hours. With 15-20 minutes a day you can get benefits. As you feel more comfortable, you can increase the time according to your availability and energy.
What does OM mean in yoga?
The OM is a sacred sound that symbolizes the connection with the universe and the primordial vibration of life. It is common to recite it at the beginning or end of a class to help you focus and harmonize your energy.
What do I need to start?
You only need a mat, comfortable clothing and a quiet space. Accessories like blocks or straps are useful, but not essential at the beginning.
Is it normal to feel awkward at first?
Yes, it’s completely normal. Like any new activity, yoga takes time to adapt to. Be patient with yourself and enjoy the process without worrying about perfection.
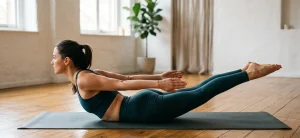
Yoga poses for beginners
If you are starting out in yoga, the sun salutations (Surya Namaskar) are an excellent option. This dynamic sequence combines fluid movements with breathing, helping you improve flexibility, strengthen your body, and connect with your energy. In addition, it includes basic postures such as the mountain, the cobra, and the downward-facing dog, perfect for those who are starting.
Mountain Pose (Tadasana)
Tadasana, or Mountain Pose, is the foundation of all standing poses. To perform it, stand with your feet slightly apart, extend your arms to the sides of your body and raise your head towards the sky.
This asana helps to improve posture, strengthens the thighs, and improves balance.

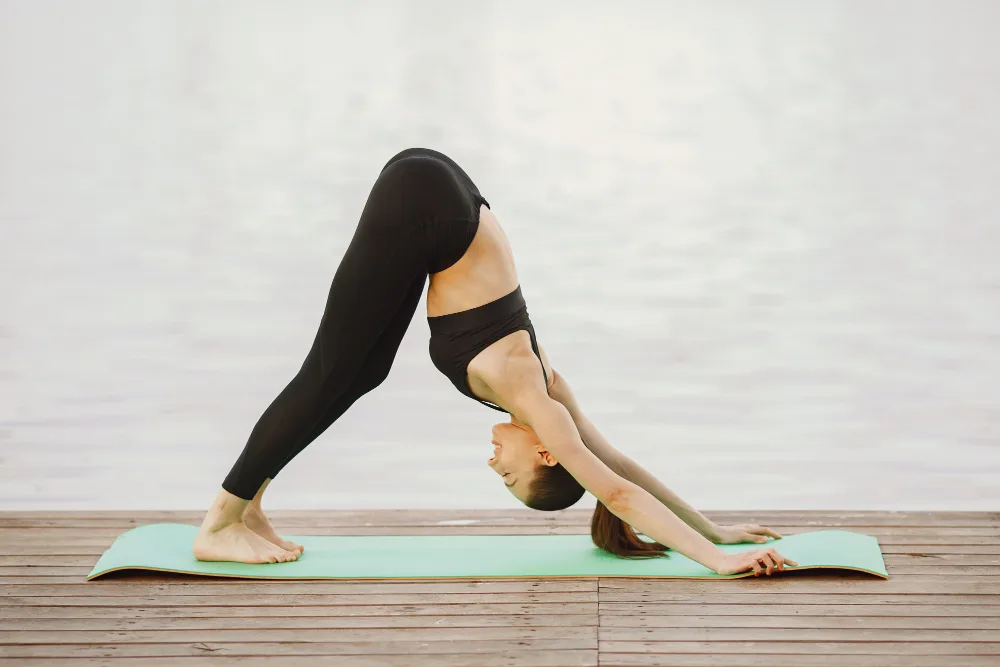
Downward Facing Dog Pose (Adho Mukha Svanasana)
Another basic and very beneficial asana is Adho Mukha Svanasana, or downward-facing dog pose. This pose relieves fatigue, rejuvenates the body, improves blood circulation, and strengthens the muscles of the arms and legs.
Start on your knees and with your hands on the ground, then, lift your hips towards the ceiling, forming an inverted V with your body.
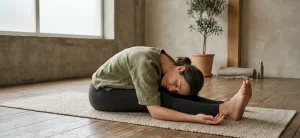
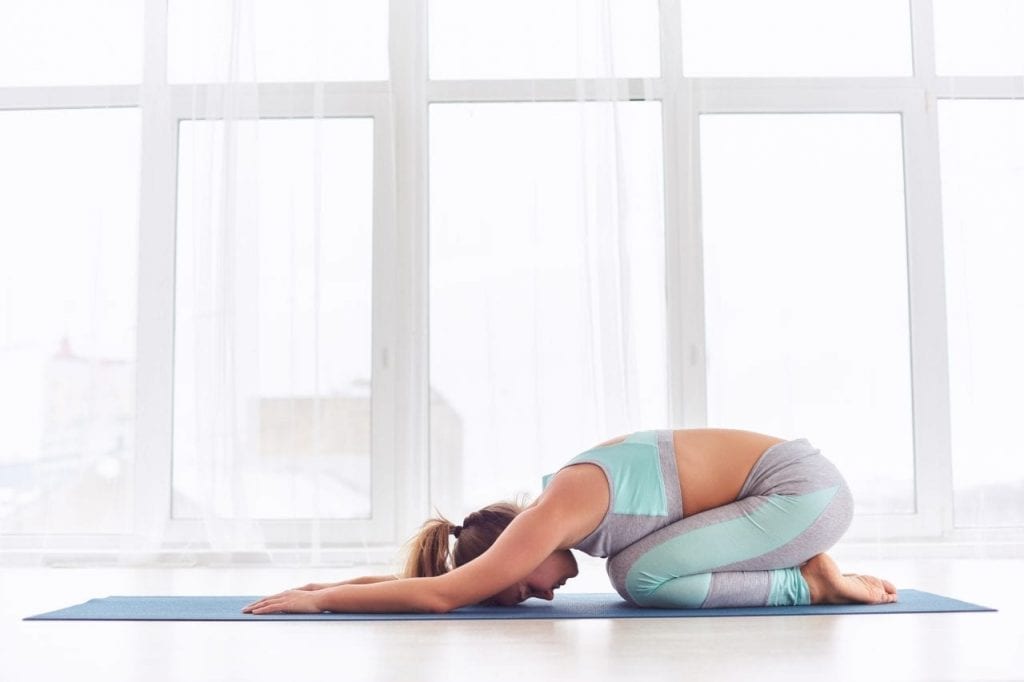
Child’s Pose (Balasana)
One of the most well-known yoga poses for beginners is Balasana, or Child’s Pose. To do it, you simply have to sit on your heels, then, lean your body forward until your forehead touches the ground and extend your arms forward.
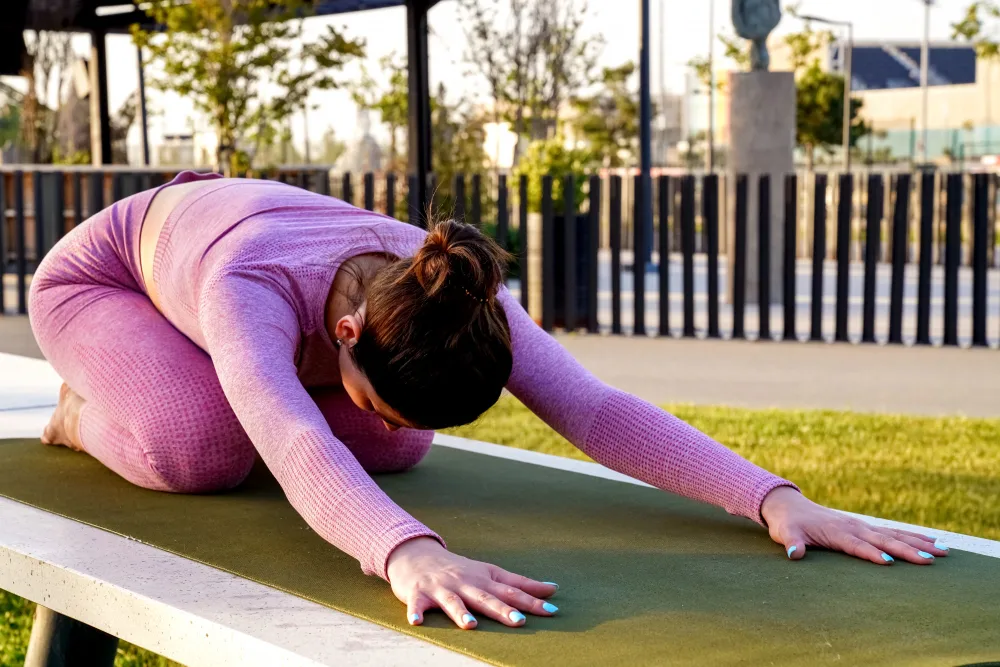
This pose is excellent for stretching the spine and relaxing the nervous system.
Tree Pose (Vrikshasana)
Vrikshasana, or Tree Pose, is a balancing pose ideal for beginners. To perform it, stand, bend one of your knees and place your foot on the inner thigh of the opposite leg, keep your hands together at the center of your chest or extend them towards the sky.
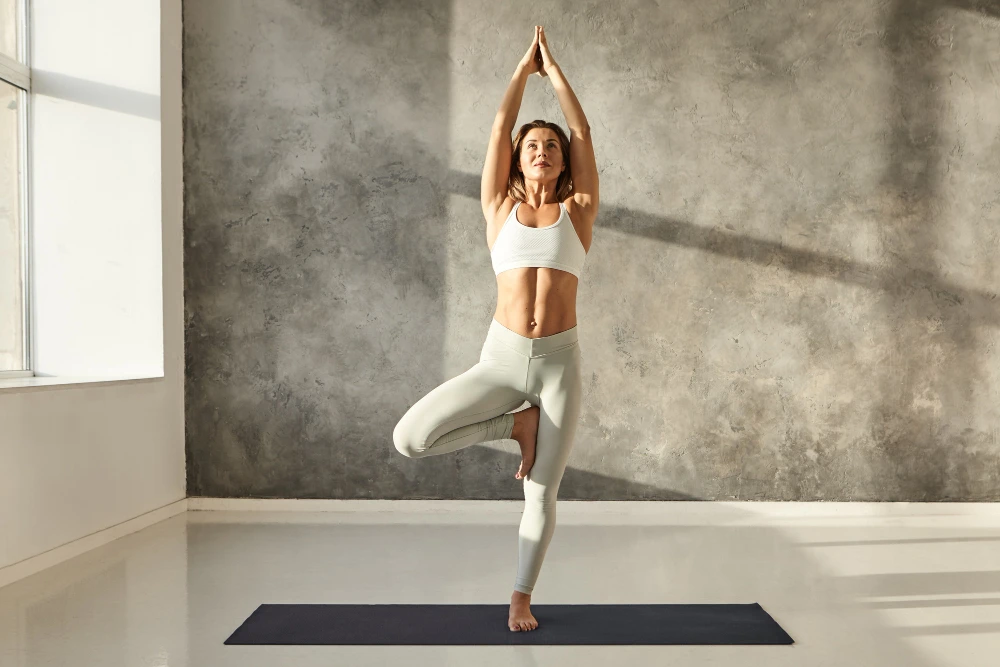
This posture improves concentration and strengthens the legs.
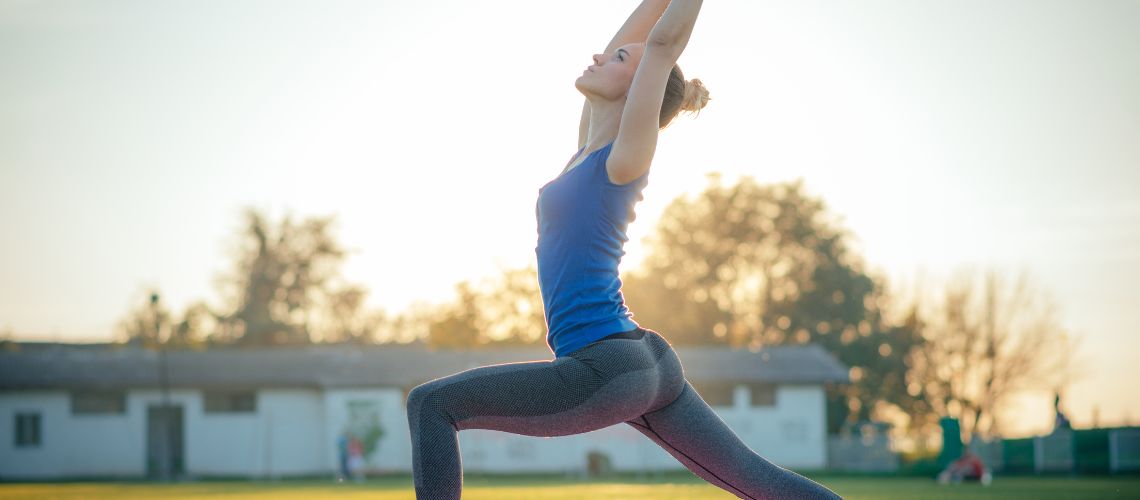
Warrior I Pose (Virabhadrasana I)
The Warrior I is a powerful pose that strengthens the legs and opens the chest. To perform it, take a wide step back with your left foot, turn your left foot slightly outwards and bend your right knee maintaining alignment with your ankle.
Raise your arms towards the sky, keeping your shoulders relaxed, and look forward or slightly upwards.
This posture improves balance, increases concentration, and strengthens core muscles, while fostering a sense of confidence and stability.
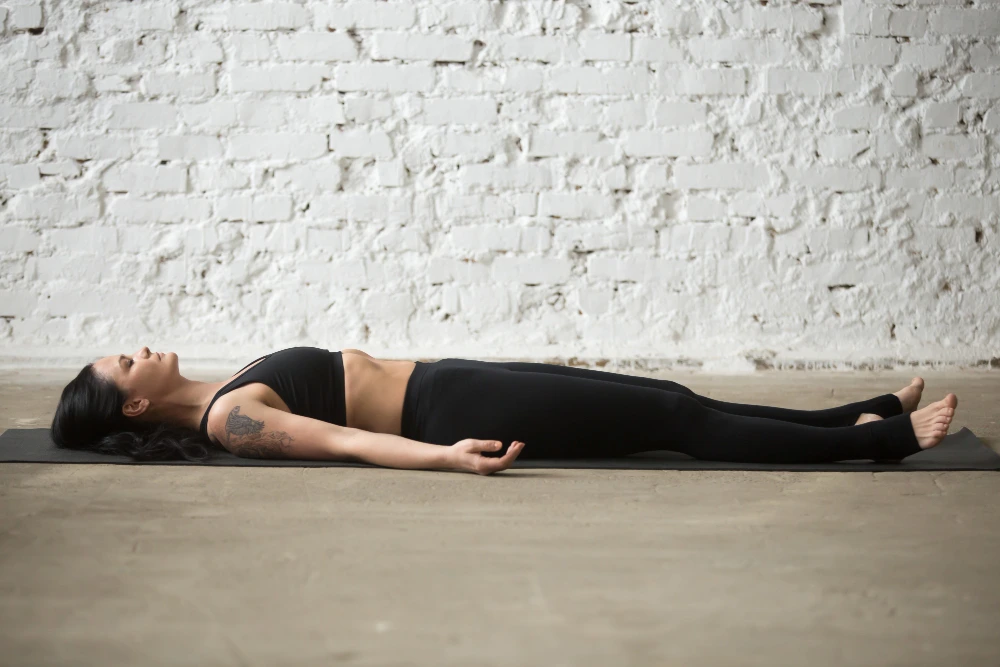
Corpse Pose (Savasana)
Savasana is a deep relaxation pose that is performed by lying on your back on the mat, with your legs slightly apart and your arms resting at your sides, palms facing up.
Close your eyes and focus on your breath, allowing every part of your body to completely relax, from your feet to your head.
Maintain this position for 5 to 10 minutes to reduce stress, calm the mind, and facilitate the integration of the benefits of the yoga practice. It is ideal to end your session, promoting a feeling of peace and renewal.
Final tips for maintaining consistency in yoga
Maintaining a consistent yoga practice is easier when you establish a fixed schedule, even if it’s only 15 minutes a day. Create a dedicated space in your home that inspires tranquility and use resources like videos or applications to guide you.
Always listen to your body, adapting the postures to your needs, and set realistic goals that motivate you to move forward.
Practice with friends or join a community can also offer you the necessary support. In addition, varying your routine with different styles of yoga will keep your interest and enthusiasm.
Finally, be patient with yourself and celebrate every small advance, remembering that yoga is a personal journey towards well-being.