Do you feel like your back is asking for help every morning when you get out of bed? You are not alone in this, as back pain has become a true silent epidemic in our modern life. We spend too many hours sitting in front of screens with poor posture, accumulating nervous tension in our shoulders and weakening the structure that supports us.
Your spine is the central pillar of your body, and when it complains with stiffness or discomfort, it is usually because it urgently needs movement and oxygen. If you are looking for real and lasting relief, yoga is much more effective than staying still on the couch waiting for the pain to pass, as gentle movement is the best medicine.
In this article, we will see how to decompress the vertebrae and release that lumbar stiffness safely. You will learn a simple routine that you can do at home to restore your back’s health, improve your postural hygiene, and prevent those minor discomforts from turning into chronic injuries in the future.
Why do we feel so much pain in the lower back?
It’s no coincidence that it hurts precisely there. The lumbar area bears much of our body weight and is often the great forgotten area until the sharp pain appears. The main enemy is sedenatarism: when we don’t move enough, the deep musculature that supports the spine (your abdominal belt or core) progressively weakens and stops performing its support function.
Without that strong and active muscular support, the vertebrae and intervertebral discs suffer from excessive pressure and constant pressure, generating that dull discomfort. Moreover, emotional stress plays a key role: we tend to shrug our shoulders and tense our neck unconsciously when we are worried, creating contractions in the cervical area and the trapezius that limit our mobility.
How yoga repairs your spine
The practice of yoga acts as a healing balm for the entire musculoskeletal system. It is not just about stretching for the sake of stretching, but about restoring your back’s natural curvature and range of motion. By moving consciously, you manage to pump new, oxygenated blood to the stiff tissues, accelerating their recovery naturally.
Here are the direct benefits of getting on the mat:
- Creating space: Gravity compresses the discs throughout the day; asanas help to “open” the vertebrae gently to relieve pressure.
- Deep oxygenation: Conscious breathing delivers nutrients to areas that are often blocked by muscle tension.
- Safe Strengthening: You tone the deep muscles of the back without the aggressive impact of other sports like running.
Sequence of 5 Poses for Immediate Relief
This routine is specifically designed for therapeutic yoga and beginners. The main goal is not to achieve extreme flexibility or make the perfect pose, but to release accumulated tension. Always seek a pleasant feeling of stretching and relief; if at any point you feel a sharp or stabbing pain, you should gently release the pose and rest.
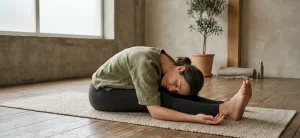
1. Balasana (Child’s Pose)
It is the perfect refuge for a tired and overloaded back. By kneeling and gently rounding the spine toward the ground, you allow the lower back muscles to open and completely relax. Bring your big toes together and separate your knees generously to make space for your abdomen and ribs as you lower.
Bring your buttocks towards your heels and stretch your arms forward gently. Rest your forehead on the ground and feel how the earth supports you, allowing gravity to do the work. Breathe deeply, bringing the air to the lower back to massage the lumbar area from within. Discover more about Balasana here.
2. Marjaryasana and Bitilasana (Cat-Cow)
If you feel your back like a stiff board upon waking, this movement is “a miracle worker.” It’s about mobilizing the spine vertebra by vertebra, like a flexible pearl necklace. Get into a four-point stance (quadruped), always ensuring that your hands are aligned under your shoulders and your knees under your hips for stability.
As you inhale, gently arch your back and look up in the Cow pose. As you exhale, round your spine toward the ceiling, tuck your belly button in, and look toward your knees in the Cat pose. This rhythmic flow pumps fluid into the intervertebral discs, hydrating them and reducing friction. Deepen into Marjaryasana and Bitilasana.
3. Adho Mukha Svanasana (Downward Facing Dog)
It may seem like an intense pose at first, but with a little trick it becomes the best natural traction for your spine. The secret to relieving back pain is bending the knees a lot and lifting the heels off the ground. Completely forget about trying to stretch your legs or touch the ground with your feet, that’s not what’s important right now.
By keeping your legs bent, you eliminate the tension in the hamstrings and can push hard with your hands to lift the hips towards the ceiling. This allows for extending the back like never before, creating a straight line from your hands to your tailbone. You will feel the pressure in the lumbar area release immediately. Check the correct technique of Adho Mukha Svanasana.
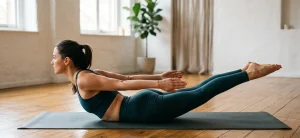
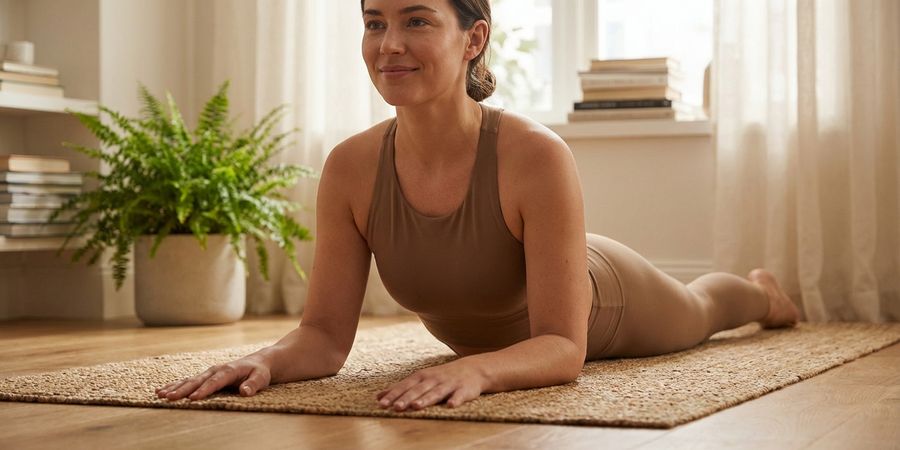
4. Sphinx
We spend a great part of the day hunched forward looking at our mobile phone or keyboard. The Sphinx pose is the perfect antidote because it offers a passive extension that is very safe. Lie face down and rest your forearms on the ground, with your elbows aligned directly beneath your shoulders to create a solid base.
Gently press the floor with your forearms to lift your chest and look forward, but keep your abdomen and pelvis well pressed against the mat. It is a much less intense pose than Cobra, making it ideal if you have lower back discomfort and need to strengthen the lower back area without taking unnecessary risks.
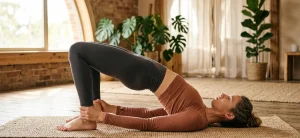
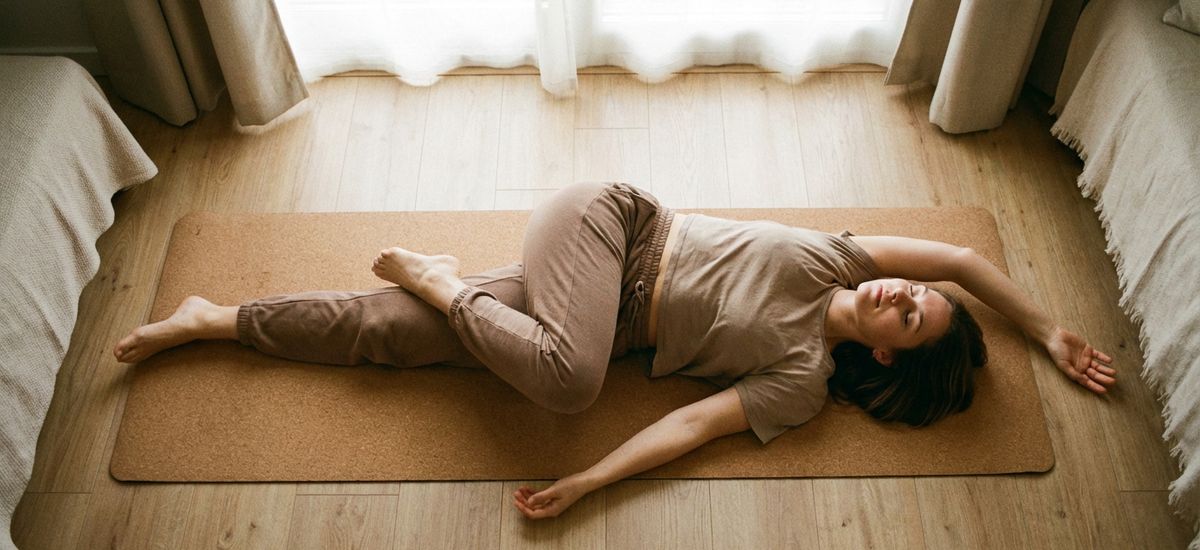
5. Supta Matsyendrasana (Supine Twist)
We finish the sequence with a delicious “wringing” for the nervous system. Twists on the ground are fundamental to readjust the vertebrae and massage the internal organs. Lie on your back, hug your right knee towards your chest, and with the help of your left hand, gently cross that leg to the opposite side of your body.
Extend your right arm in a cross over the ground and turn your head towards that hand to complete the spiral of the spine. Try to keep both shoulders touching the ground at all times. Breathe deeply and feel how the glute and lower back stretch, releasing built-up pressure. Repeat on the other side.
Final tips for your practice
Always remember that consistency is much more important than the intensity of exercise. It’s infinitely better to dedicate 10 gentle minutes each day to care for your back than to do an hour of intense exercise once a month. Your body responds better to small, frequent stimuli than to large, sporadic efforts.
Don’t be afraid to use all the props you need to be comfortable. Cushions, blankets, or blocks are not “crutches,” they are smart tools to adapt the practice to your body today. Furthermore, conscious breathing (Pranayama) is the vehicle that tells your nervous system that “everything is okay,” allowing the muscle to release tension completely.
If your work rhythm prevents you from lying down on the floor during the day, we recommend trying Chair Yoga. It is a fantastic alternative to perform discreet stretches and maintain correct posture while you are in the office, preventing pain from settling in your body.