In the tradition of yoga, some postures have a transformative power that goes beyond the physical. Vajrasana is one of them. Its name comes from the Sanskrit “vajra,” which means diamond or thunderbolt, reflecting the indestructible quality of this asana.
Unlike other postures that require extreme flexibility or exceptional strength, Vajrasana is accessible to almost everyone, but deeply powerful in its effects.
This is the posture that yogic masters recommend practicing just after eating. It is the only asana where the body is “closed” in a way that naturally accelerates digestion. In this article, you will discover how to practice it correctly, its scientifically proven benefits, and how to integrate it into your daily routine.

What is Vajrasana and why is it called the diamond posture?
Vajrasana is composed of two words in Sanskrit. «Vajra» literally means diamond, but also thunderbolt or what is indestructible. «Asana» means posture. When you sit in Vajrasana, your body acquires the firmness and solidity of a diamond: grounded, immobile, unmovable.
In the philosophy of yoga, the diamond represents the essence of being itself: what remains when everything else crumbles. That’s why ancient masters chose this name.
It is not just a physical posture, but a metaphor for your ability to remain firm and centered, even in the turbulence of daily life.
The yogic tradition considers it one of the most important for meditation and digestion. In fact, it is the only asana that you can practice immediately after eating, making it unique among all postures.
How to do Vajrasana: step-by-step instructions
The beauty of Vajrasana lies in its simplicity. However, there are technical details that make the difference between a basic practice and one that is truly transformative. Here I show you how to do it correctly:
Step 1: Prepare your space. Sit on a yoga mat or a folded blanket. This protects your knees and ankles during prolonged practice. Make sure you are in a quiet place where you can maintain focus.
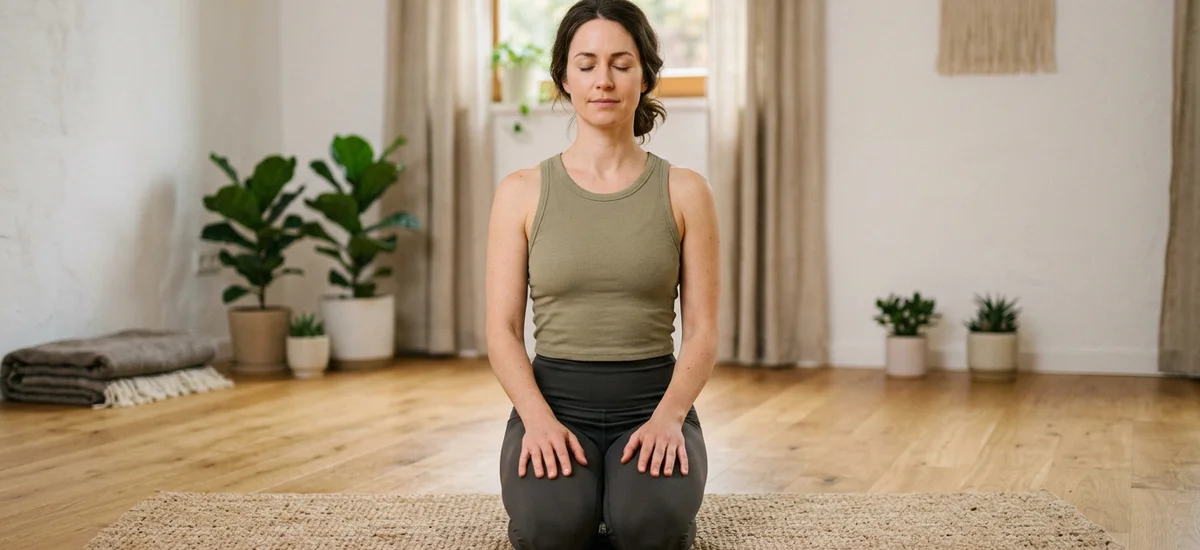
Step 2: Knee position. Kneel on the mat with your thighs perpendicular to the ground. Your knees should be hip-width apart, not together. This is important to avoid unnecessary tension in your ankles.
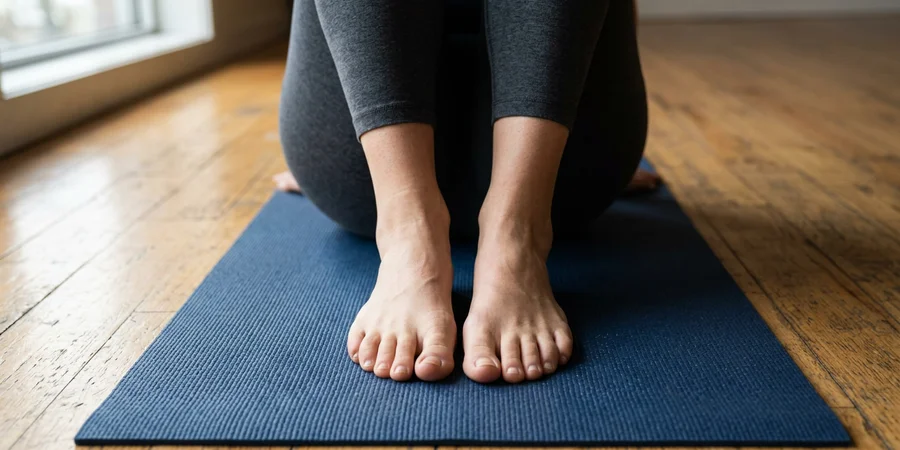
Step 3: Alignment of the feet. Bend the ankles back slowly. The feet should be aligned with the shins, with the big toes lightly touching or very close to each other. The soles of the feet face up, open.
Step 4: Descend slowly. With controlled breathing, lower the hips until the buttocks rest on the heels. Do this carefully, breathing deeply. If you feel pain (not just discomfort, but sharp pain), stop and adjust your position.
Step 5: Align the spine. Once seated, ensure that your spine is completely straight. The crown of your head should be aligned with the base of your spine. The shoulders remain relaxed and away from the ears.
Step 6: Place your hands. Rest your hands on your thighs, with palms up or down, depending on what feels most natural to you. Some practitioners prefer the Gyan mudra (thumb and index finger joined), which calms the mind.
Common Mistakes and How to Avoid Them
Even a seemingly simple pose can be practiced in ways that limit its benefits. Here are the most common mistakes I have seen in students of all levels.
Mistake 1: Spreading the feet too wide. Some students place their feet too far apart, forming a very pronounced V. This reduces the digestive benefits and the calming effect. The feet should be almost touching, with only a finger’s width of separation.
Mistake 2: Tensing the shoulders. Tension in the shoulders prevents energy from flowing freely. Keep the shoulders completely relaxed, imagining them melting towards the ground with each exhalation.
Error 3: Leaning the spine forward. The temptation to bend is common, especially among beginner practitioners. The spine should be completely straight. If your spine is leaning, it’s a sign that you need a support blanket or a block.
Error 4: Pressing the feet too hard. You should not force your feet down with your glutes. The movement should be gentle, allowing gravity to do the work. The pressure should be comfortable, not painful.
Physical and Mental Benefits of Vajrasana
The benefits of Vajrasana go far beyond what its simplicity suggests. Modern scientific research has validated what yogic masters knew thousands of years ago.
Improved digestion. Vajrasana is the most effective posture for stimulating digestion. It increases blood flow in the lower abdominal area, creating a kind of internal massage for the digestive organs.
Practicing it for 10 minutes after eating significantly improves intestinal transit. Ayurvedic tradition specifically recommends it to reduce bloating and constipation after main meals.
Improved postural alignment. By keeping the spine upright, you train your body to cultivate a natural and balanced posture. Over time, this becomes your habitual posture, even off the mat. This prevents chronic back pain and improves overall breathing.
Strengthening the pelvic floor. The Vajrasana heel position activates and tones the pelvic floor muscles. This is especially beneficial for women who want to improve reproductive and hormonal health.
Mental calmness and concentration. The closed posture, combined with controlled breathing, naturally calms the nervous system. Many students report that after 5-10 minutes in Vajrasana they feel a remarkable mental clarity. This is why meditators consider it one of the essential yoga poses for contemplative practice.
Relief from anxiety. By stimulating the parasympathetic system (the “rest and digest” system), Vajrasana reduces cortisol levels, the stress hormone. Practicing it regularly decreases general anxiety and promotes a sense of inner peace.

Contraindications and How to Adapt the Posture
Although Vajrasana is accessible for most, there are some situations where you need to adapt or avoid the posture.
Knee or Ankle Injuries. If you have a history of knee or ankle injuries, or have had surgery recently, avoid this posture until you receive authorization from your therapist. The weight on the heels can increase pressure on these joints.
Advanced Pregnancy. In the second and third trimesters of pregnancy, pressure on the ankles and abdominal compression may be uncomfortable. Consult with your prenatal yoga instructor.
Severe circulatory issues. If you have a vascular condition affecting the lower extremities, avoid maintaining the posture for long periods.
Accessible adaptations. If you have sensitivity in your ankles or knees, place a folded blanket between your glutes and your heels. This elevates the hips and relieves pressure.
Another option is to sit on a yoga block placed horizontally between your feet. Even with these adaptations, you will receive the digestive and mental benefits of the pose.
Vajrasana Variants to Deepen Your Practice
Once you have mastered the basic version, there are variants that expand the benefits and offer additional challenges.
Supta Vajrasana (Reclining Vajrasana). From the basic position, slowly lean back onto your forearms, then completely recline on your back. Your knees remain bent.
This variant intensifies the stretch of the quadriceps and is excellent for advanced practitioners. It has an even deeper effect on digestion.
Vajrasana with raised arms. From the basic position, raise your arms above your head with palms together. This opens the chest, expands the lungs, and improves breathing. Hold this variant for 2-3 minutes for a potentially enhanced calming effect.
Dynamic Vajrasana. Instead of remaining static, make small movements: gently rock forward and backward, or gently rotate the spine from side to side. This increases circulation and is excellent for beginners who are still getting accustomed to the pose.
How to integrate Vajrasana into your daily routine
The true transformation of yoga does not occur in a single session, but through consistent practice. Here are practical recommendations for incorporating Vajrasana into your daily life.
The ideal: after eating. This is the golden moment. Practice Vajrasana for 5-10 minutes after lunch or dinner. Gravity and body position help food move through the digestive system more efficiently. Many students report that this is what most transforms their digestion.
Recommended duration. Start with 2-3 minutes if you are a beginner. Gradually increase to 10-15 minutes. If you practice immediately after eating, 5-10 minutes is ideal. It is not necessary to practice for hours; consistency is more important than duration.
Frequency. Practice Vajrasana daily if possible, especially after the main meals. Even 5 minutes each day has an observable impact after two weeks.
Integration with meditation. Once you are comfortable in Vajrasana, use it as a foundation for your meditative practice. The closed posture and the upright spine create the perfect environment to train the mind. If you want to learn about other meditative postures, exploring the most important meditation postures will provide you with complementary options.
Combine it with pranayama. Practice Ujjayi (victorious breath) while in Vajrasana. This combination amplifies the calming effect and prepares your mind for deeper meditative states.
Wisdom in simplicity
Vajrasana is a reminder that the depth of yoga does not always reside in complexity. An apparently simple posture, practiced with consistency and presence, can transform your digestion, your posture, your mind, and your spirit.
At Kavaalya School, we emphasize that authentic yoga is not an accumulation of spectacular postures, but a deep integration of simple yet powerful techniques. Vajrasana is exactly that: an accessible key to extraordinary benefits.
If you are starting your journey in yoga, Vajrasana is the perfect place to establish a solid foundation. If you already have experience, returning to this classic posture deepens your connection with tradition.
Because in yoga, as in life, true transformation comes from the simplest things, practiced with the greatest care.